
LinerLayout
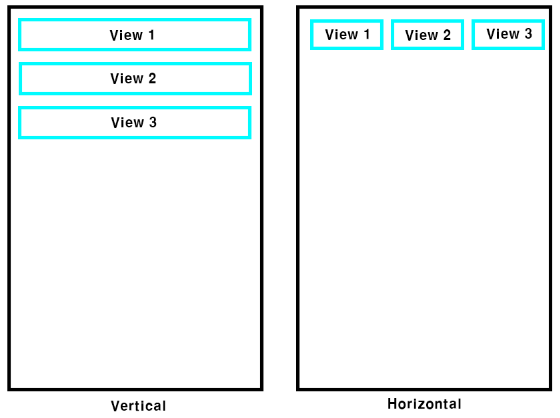
Liner Layout은 view를 수평 또는 수직 방향으로 배치할 수 있는 레이아웃이다.
- android:orientation = “vertical” (하위 뷰들을 수직 방향으로 배치)
- android:orientation = “horizontal” (하위 뷰들을 수평방향으로 배치)
1
2
android:orientation = "vertical"
android:orientation = "horizontal"
![12]()
Features
| android | 기능 |
|---|---|
| math_parent | 부모 컨테이너의 남아있는 모든 여유 공간을 채움 |
| wrap_content | 뷰 안에 들어있는 내용물의 크기에 맞게 뷰의 크기가 결정 |
| dp | 임의로 원하는 길이를 지정한다. |
| id | 뷰나 레이아웃의 아이디를 지정한다. |
| background | 뷰의 배경을 설정한다. |
1
2
3
4
<LinearLayout
       android:layout_width = "match_parent"
       android:layout_height = "wrap_content"
    </LinearLayout>
1
2
3
4
<LinearLayout
         android:layout_width = "wrap_content"
        android:layout_height = "match_parent"
    </LinearLayout>
backgoround
1
android:background = "#FF0000"
dp
1
2
android:layout_width = "200dp"
android:layout_height = "100dp"
id
1
2
android:id = "@+id/linearlayout"
android:id = "@+id/textview"
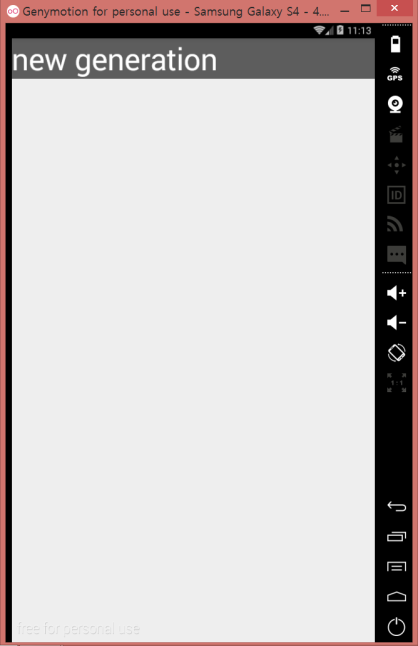
리니어 레이아웃 사용하기
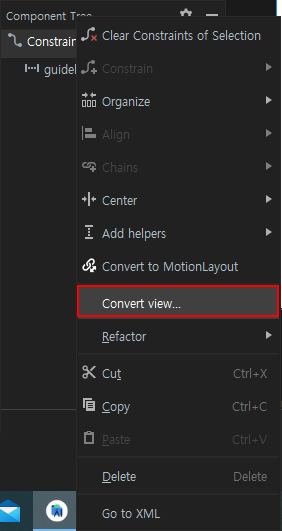
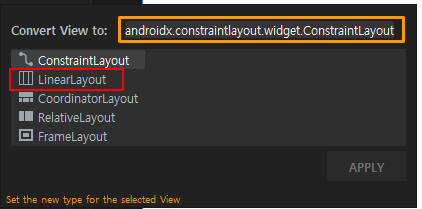
ComponetTree-> 현재 레이아웃 우 클릭 -> Convert View
Common Attributes에서 oriantation 지정
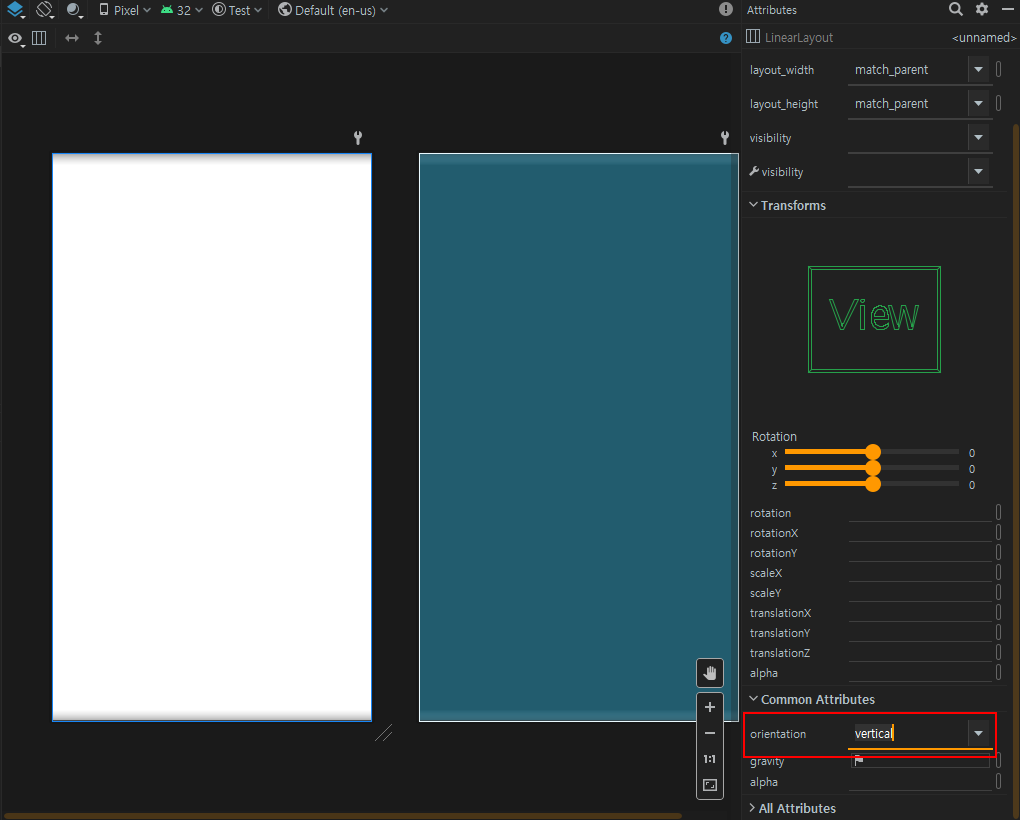
Vertical로 하면 아래 이미지 처럼 세로로 쌓인다.
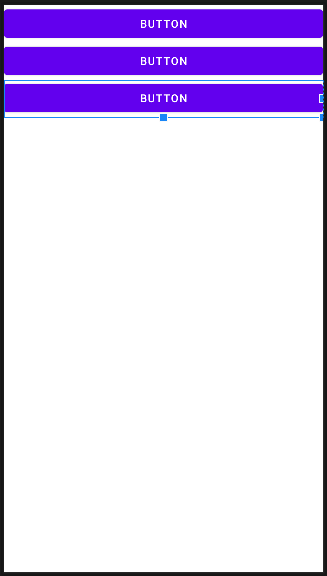
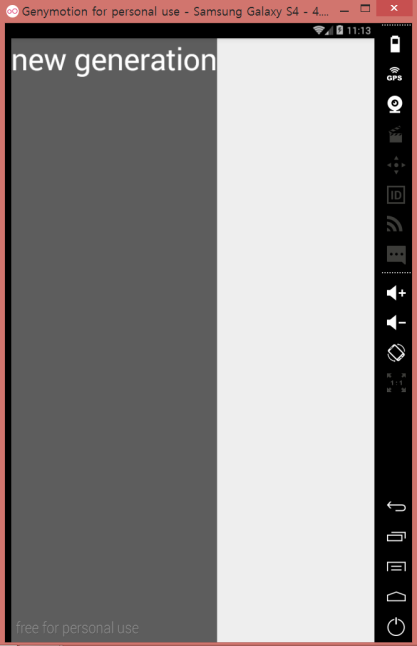
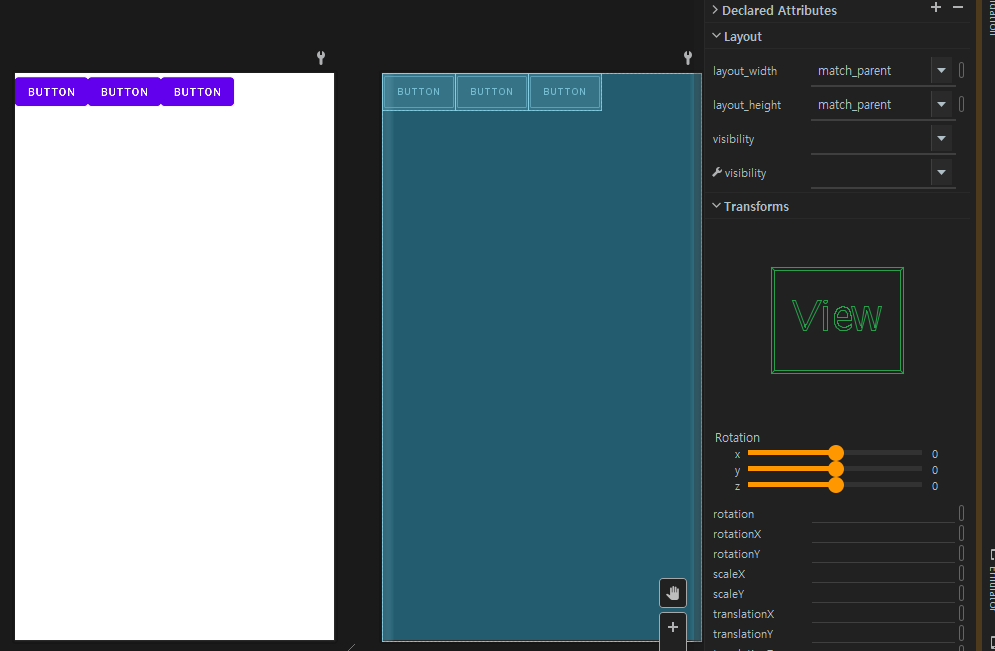
Horizontal로 바꾸게 되면 버튼 두개가 사라지게 되는데,
그 이유는 layout_wdith 속성 값이 match_parent로 되어서 그런다.
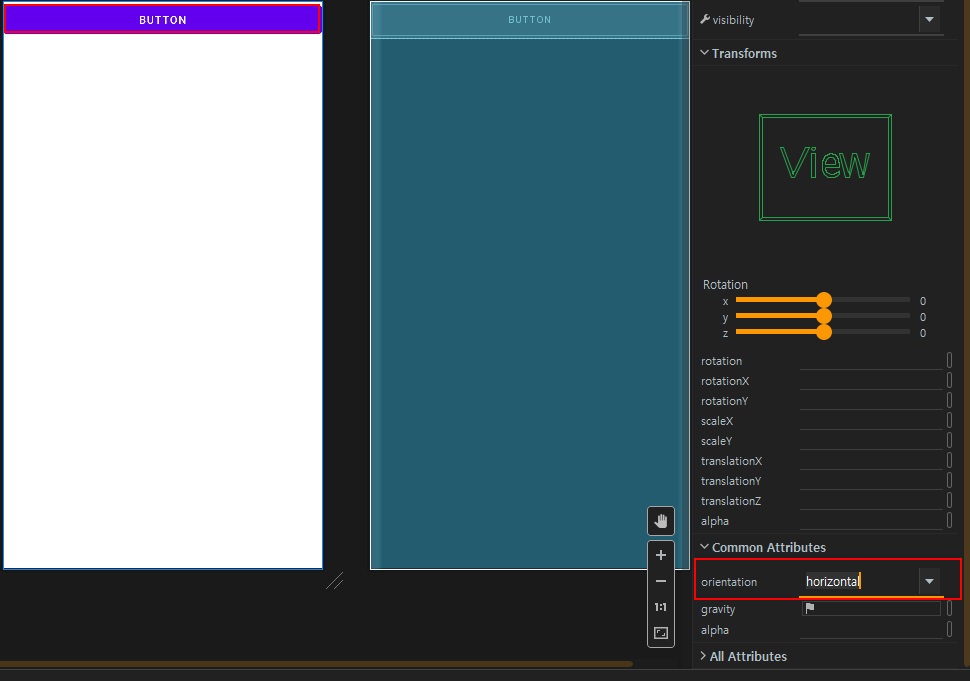
wrap_content로 바꾸게 되면 버튼 세개가 다시 생기게 된다.
Linearlayout 자바 코드
Main Activity 코드를 복사후 같은 폴더에 소스 코드 복붙 후 아래 자바 코드 작성
1
2
3
4
5
6
7
8
9
10
11
12
13
14
15
16
17
18
19
20
21
22
23
24
public class LayoutCodeActivity extends AppCompatActivity {

    @Override
    protected void onCreate(Bundle savedInstanceState) {
        super.onCreate(savedInstanceState);

        LinearLayout mainLayout = new LinearLayout(this); // Linear 레이아웃 객체 생성
        mainLayout.setOrientation(LinearLayout.VERTICAL);   // 방향 설정

        /* new 연산자로 레이아웃 안에 추가될 뷰들에 설정할 피라미터 생성  */
        LinearLayout.LayoutParams params =
                new LinearLayout.LayoutParams(
                        LinearLayout.LayoutParams.MATCH_PARENT,
                        LinearLayout.LayoutParams.WRAP_CONTENT
                );

        /* 버튼 생성 및 설정하고 레이아웃에 추가 */
        Button button1 = new Button(this);  // 여기서 this는 Context 객체
        button1.setText("Button1");
        button1.setLayoutParams(params);
        mainLayout.addView(button1);
        setContentView(mainLayout); // 새로 만든 레이아웃을 화면에 설정
    }
}
Context란? 일반적으로 어떤 일이 발생한 상황을 의미하는 말인데, 프로그래밍 언어에서는 객체의 정보를 담고 있는 객체를 의미하는 경우가 많다. 안드로이드는 UI 구성 요소인 뷰에 대한 정보를 손쉽게 확인하거나 설정할 수 있도록 뷰의 생성자에 Context 객체를 전달한다.
그 후 프로젝트 탐색창 -> app -> src -> main -> res -> AndroidManifest.xml -> 아래 코드로 수정
1
2
3
4
5
6
7
8
9
10
   <activity
            android:name=".LayoutCodeActivity"
            android:exported="true">
            <intent-filter>
                <action android:name="android.intent.action.MAIN" />

                <category android:name="android.intent.category.LAUNCHER" />
            </intent-filter>
        </activity>